Last night a group of us had a dbn battle at Peeler's place which we decided we would do again tonight but swap sides. To begin with it was myself and David commanding the French and Peeler commanding the Allies comprising of Austrians, Prussians and Russians. He was later joined by Alex who took command of the Austrians.
I deployed my troops along the hill to defend the BUA.

Dave deployed his troops to defend the Galgenberg Heights, he had a slight disadvantage in that his light cavalry moved as heavy cavalry.

The allies quickly advance on the French line and start to inflict casualties on the cavalry.

On the right a unit of Cossacks retreat after being shot by artillery.

The Cossacks continue to suffer casualties from the French artillery.

Likewise the French cavalry on the left continue to suffer losses from the Austrian artillery.

The Allies close in on the right and the Cossacks take more casualties in combat but manage to cause a hit on the French artillery before being pushed back.

Meanwhile the French cavalry on the left manage to win their combat and are no longer shaken.

The first unit of Cossacks is destroyed by artillery fire.

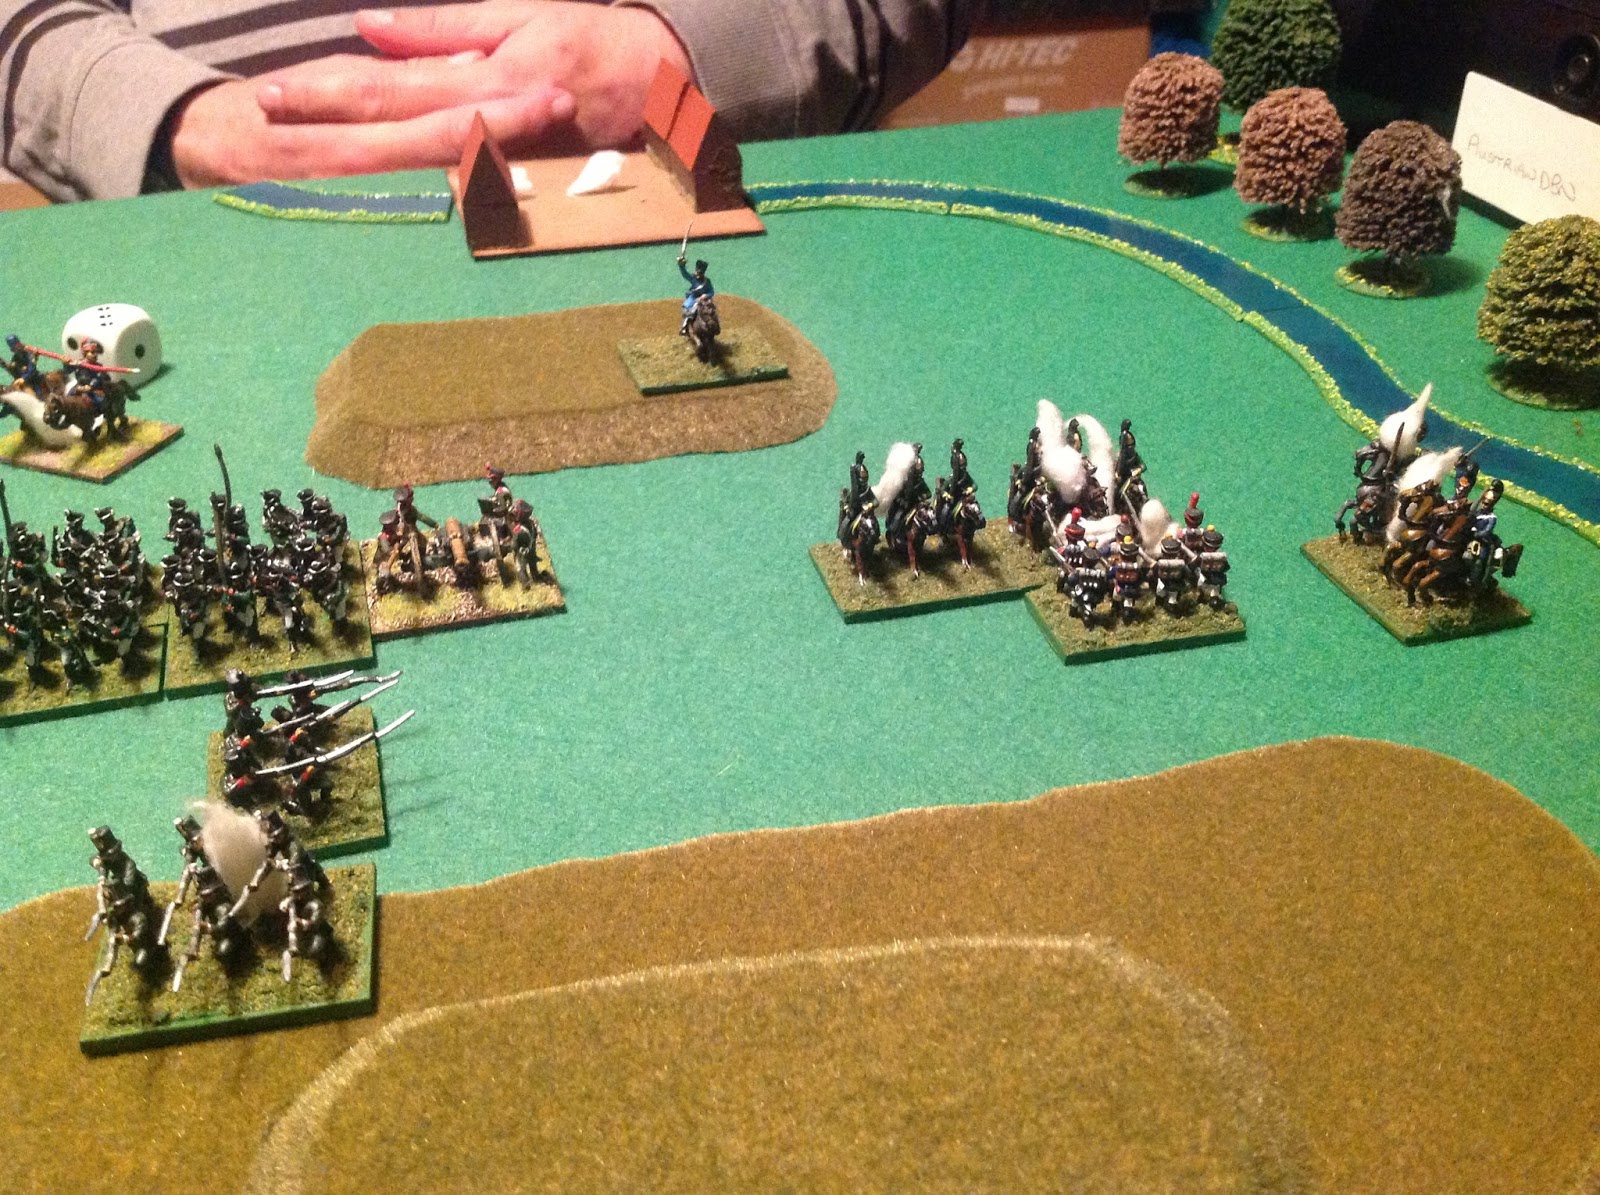
The Russian Jagers move in to attack but are shot by the French artillery.

The French cavalry move into combat with the Jagers but are beaten and pushed back.

The allies continue to close in on the French and cause another hit on the cavalry.

The French cavalry then move in and overwhelm the two units.

The French cavalry on the right charge down from the hill to attack the allied cavalry but are repelled.

They charge back in and manage to cause hits on two of the cavalry and take the Russian sub commander out of action for two turns. The Jagers destroy the French artillery and advance up the hill.

The Allies retaliate by destroying two of the French cavalry units and killing the French sub commander. The Russian artillery start to inflict casualties on the French infantry.

The rest of the French cavalry on the right is destroyed by artillery fire leaving one lone unit of infantry.

The French infantry is charged by three units of cavalry but miraculously survives the attack.
In the centre a unit of allied heavy cavalry moves up to attack the French foot artillery but only manage a draw in combat.

The French infantry on the right are eventually overwhelmed by the allied cavalry handing victory to the allies.

A final view of the battlefield.


Thanks to Peeler, Alex and Dave for a great game and I look forward to the next game to see what the outcome will be.


